Microsoft Word's transcribe feature converts speech to a text transcript with each speaker individually separated. After your conversation, interview, or meeting, you can revisit parts of the recording by playing back the timestamped audio and edit the transcription to make corrections. You can save the full transcript as a Word document or insert snippets of it into existing documents.
The transcribe feature will work on both Microsoft Word and Microsoft Word Online:
Video Guide
Step-By-Step Guide
-
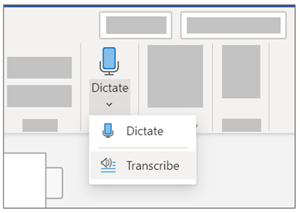
Go to Home > Dictate dropdown > Transcribe.
-
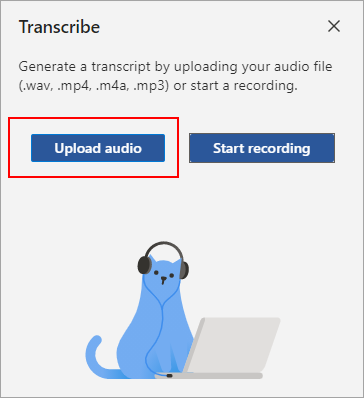
In the Transcribe pane, select Upload audio.
-
Select the audio file you wish to transcribe . Transcribe currently supports .wav, .mp4, .m4a, .mp3 formats.
-
Transcription may take a while depending on your internet speed, up to about the length of the audio file. Be sure to keep the Transcribe pane open while the transcription is happening, but feel free to do other work or switch browser tabs or applications and come back later.
You can interact with the transcript in a few different ways.
Access the audio file
The audio file, whether recorded or uploaded, is saved to the Transcribed Files folder in OneDrive.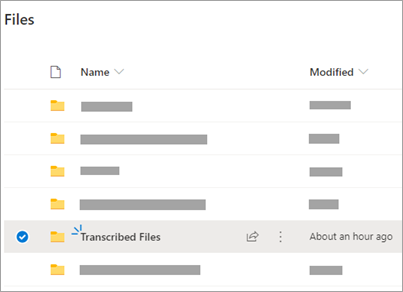
Play back the audio
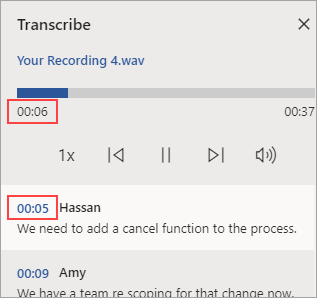
Use the controls at the top of the Transcribe pane to play back your audio. The relevant transcript section highlights as it plays.
-
Select the timestamp of any transcript section to play that portion of audio.
-
Change the playback speed up to 2x.
Relabel a speaker or edit a section
The transcription service identifies and separates different speakers and labels them "Speaker 1," "Speaker 2," etc. You can edit the speaker label and change all occurrences of it to something else. You can also edit the content of a section to correct any issues in transcription.
-
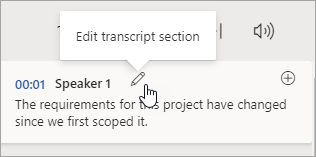
In the Transcribe pane, hover over a section you want to edit.
-
Select the Edit transcript section icon.
-
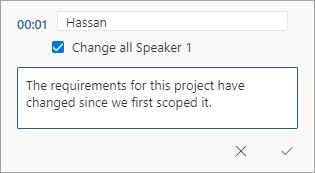
Edit the content or change the label. To change all instances of a label, select Change all Speaker [x].
-
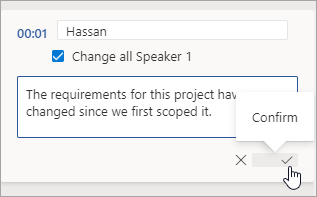
To save your changes, select the Confirm icon.
Add a transcript to the document
Unlike Dictate, Transcribe doesn't automatically add the audio to the document. Instead, from the Transcribe pane, you can add the entire transcript, or specific sections of it, to the document.
-
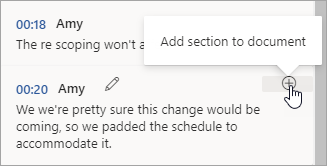
To add a specific transcript section, hover over the section and select the Add section to document icon.
-
To add the entire transcript to the document, select Add all to document.

-
To delete the transcript or create a new one, select New transcription. You can only store one transcript per document; if you create a new transcript for the document, the current transcript will be deleted. However, any transcript sections you've added to the document remain in the document, but not in the Transcribe pane.